この記事ではVMwareやUTMのような仮想化ソフトを使ってMacにWindows 11をインストールする手順を解説します。
また、UUP dumpやCrystalFetchで作成したインストーラでインストールした場合に、Microsoft Storeがインストールされない問題の解決方法もご案内します。
仮想化ソフトのインストール、仮想マシンの作成
仮想化ソフトのインストールとか仮想マシンの作成とかはここでは扱っていませんので、下記の記事を見てください。

Windows 11 のインストール
インストーラディスクを挿入して、仮想マシンを起動したところから始めますよ。
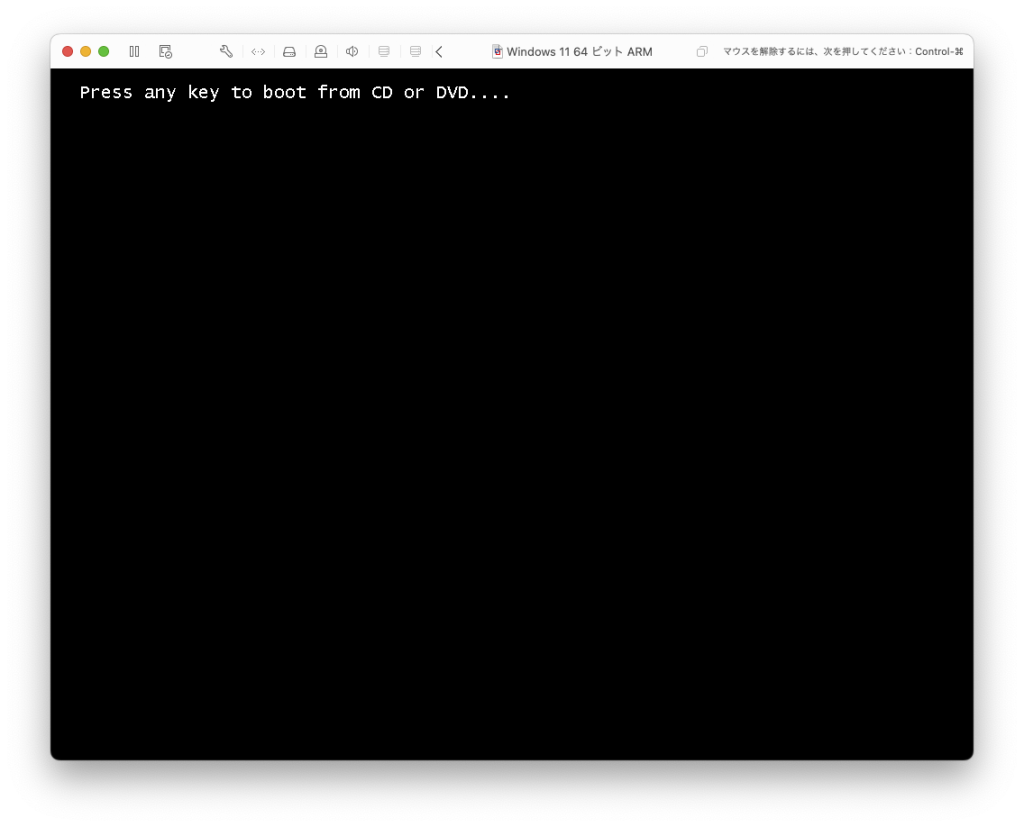
仮想マシンが起動すると「Press any key to boot from CD or DVD….」と表示されます。すばやく適当なキーを押してください。
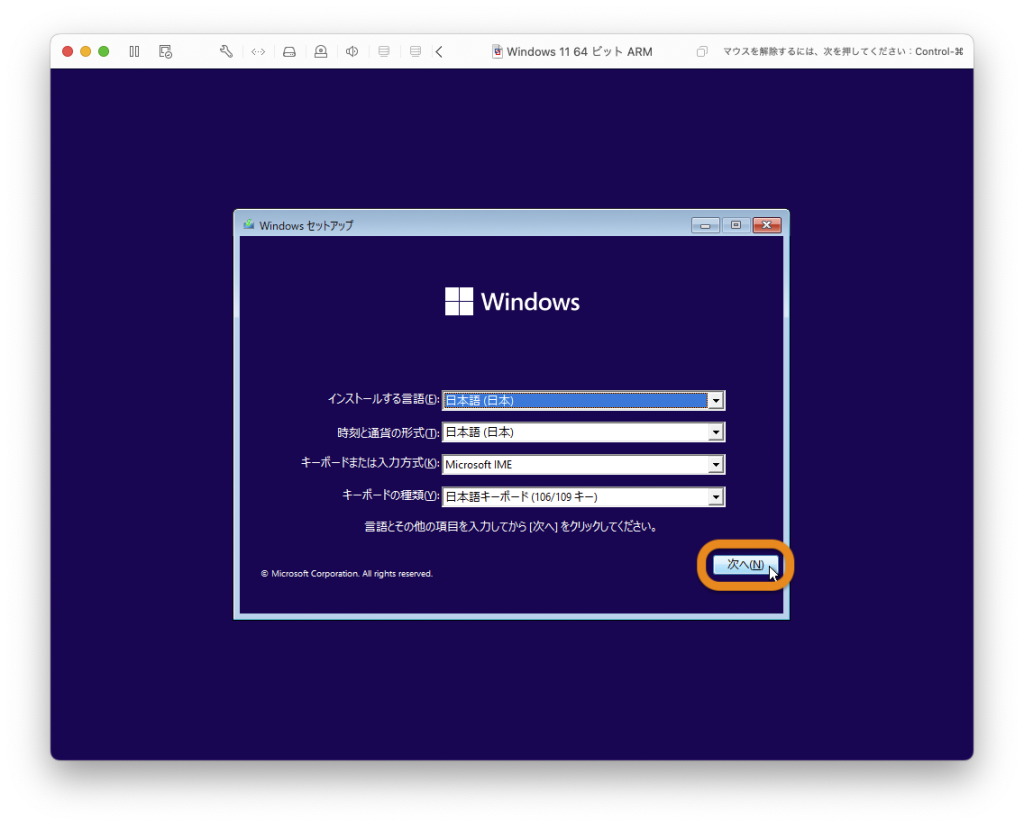
インストーラが起動したら[次へ]をクリックします。
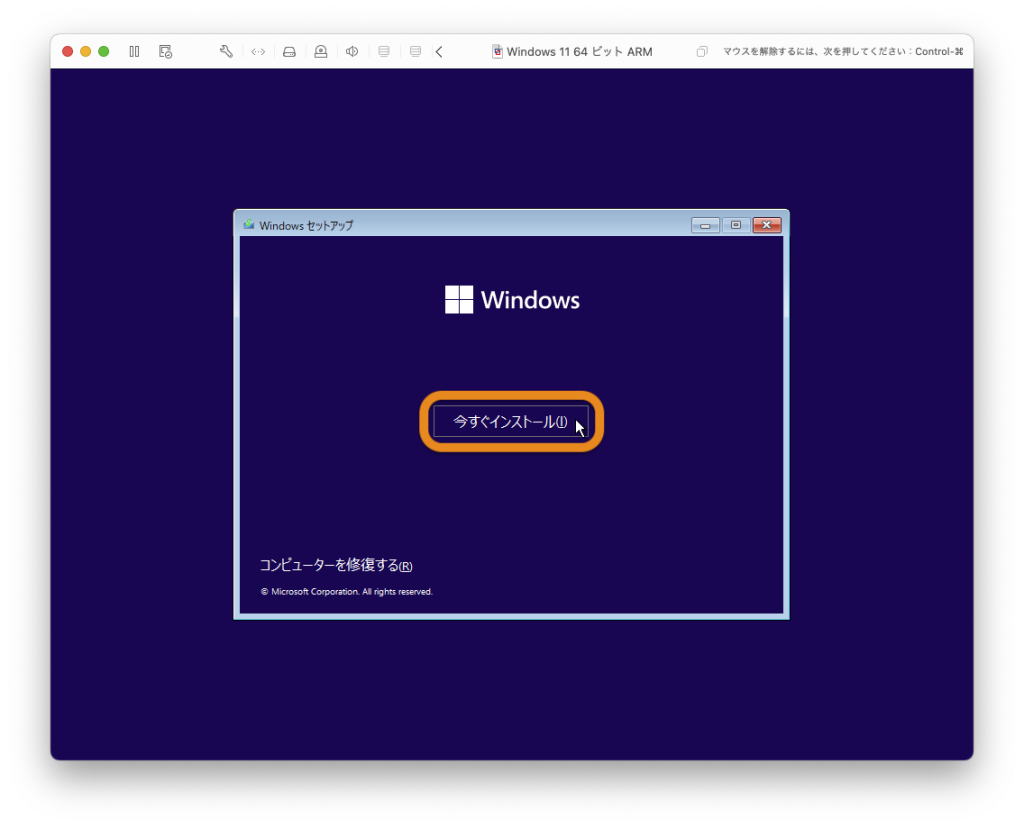
さらに[今すぐインストール]をクリックします。
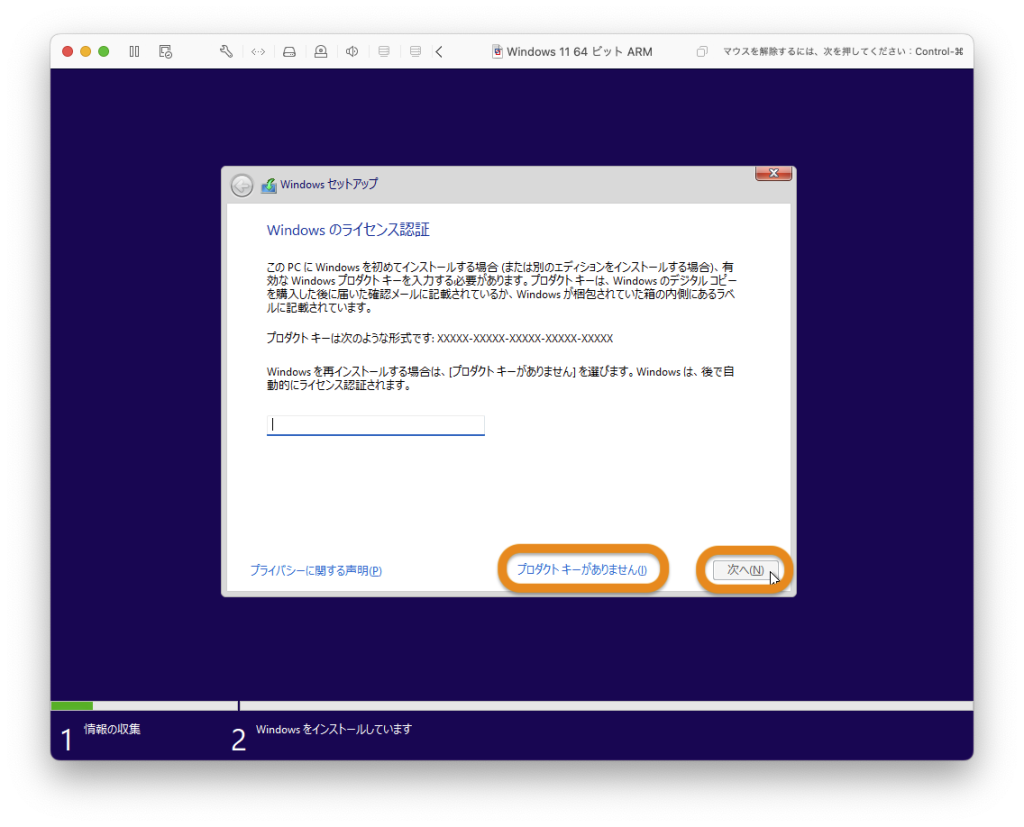
プロダクトキーがあれば、プロダクトキーを入力して[次へ]ボタンをクリックします。プロダクトキーがなければ、「プロダクトキーがありません」をクリックします。
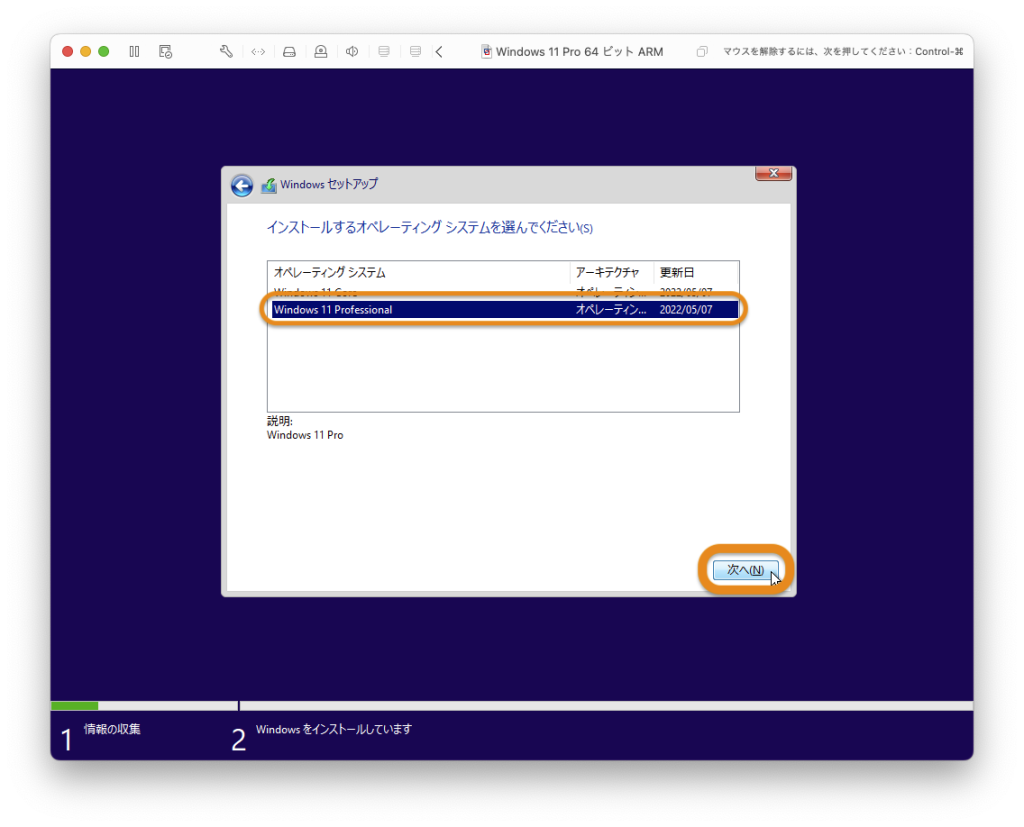
この画面が表示された場合はインストールするエディション(HomeまたはPro)を選択して[次へ]をクリックします。
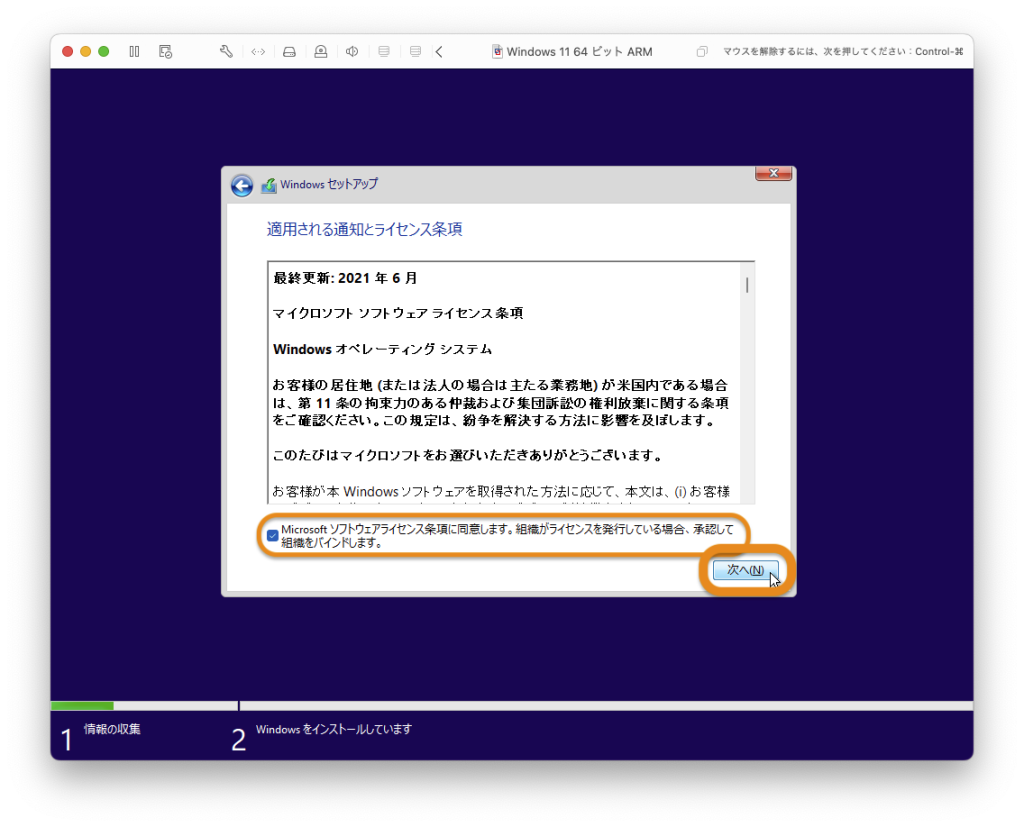
ライセンス条項を読んで、チェックボックスにチェックを入れ、[次へ]ボタンをクリックします。(組織をバインドしますって何?)
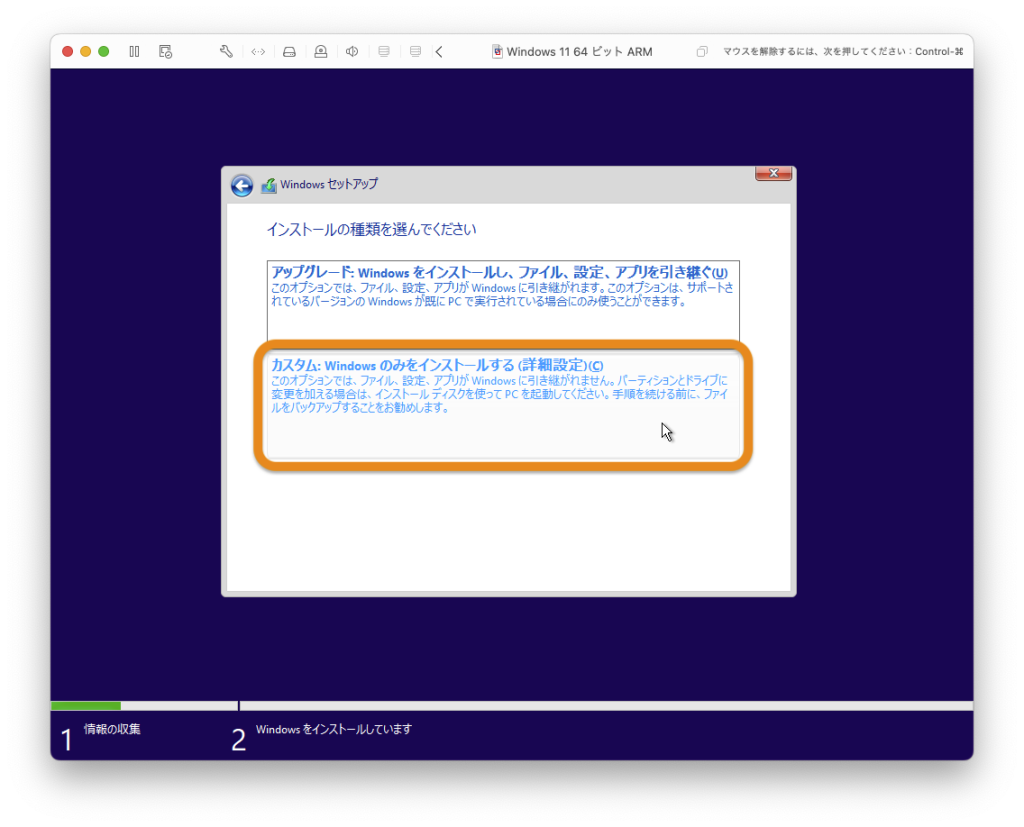
新規インストールをする場合は、下の「カスタム」をクリックします。
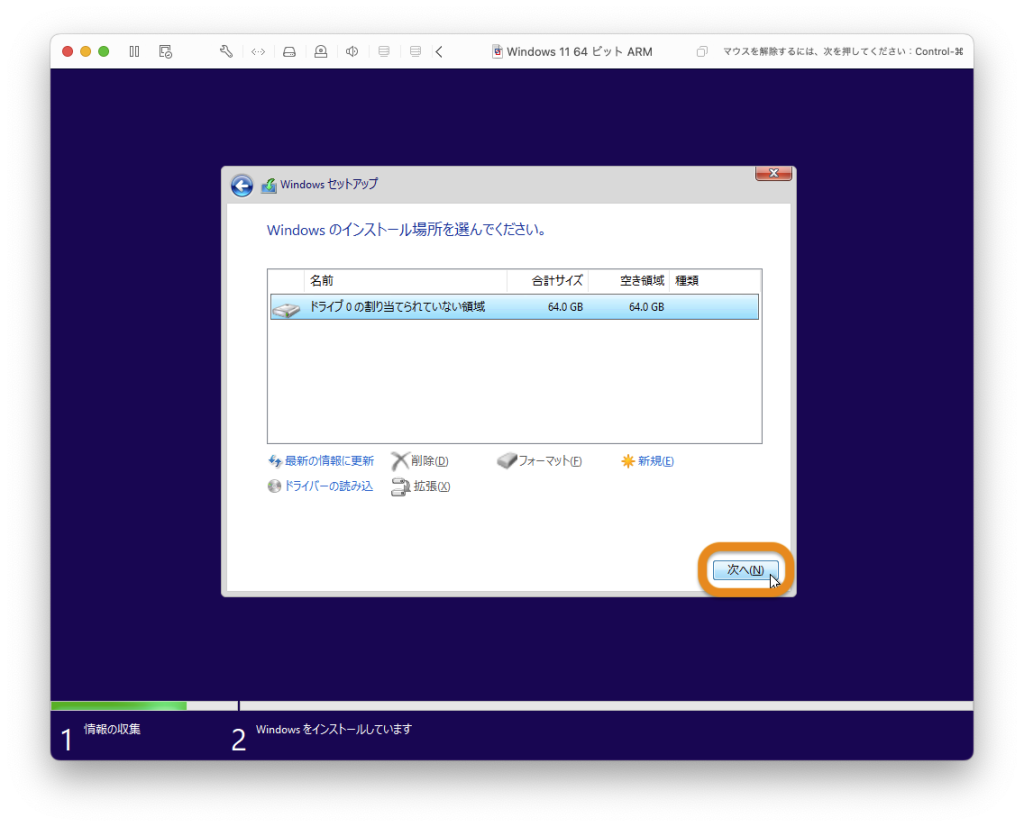
そのまま[次へ]をクリックします。
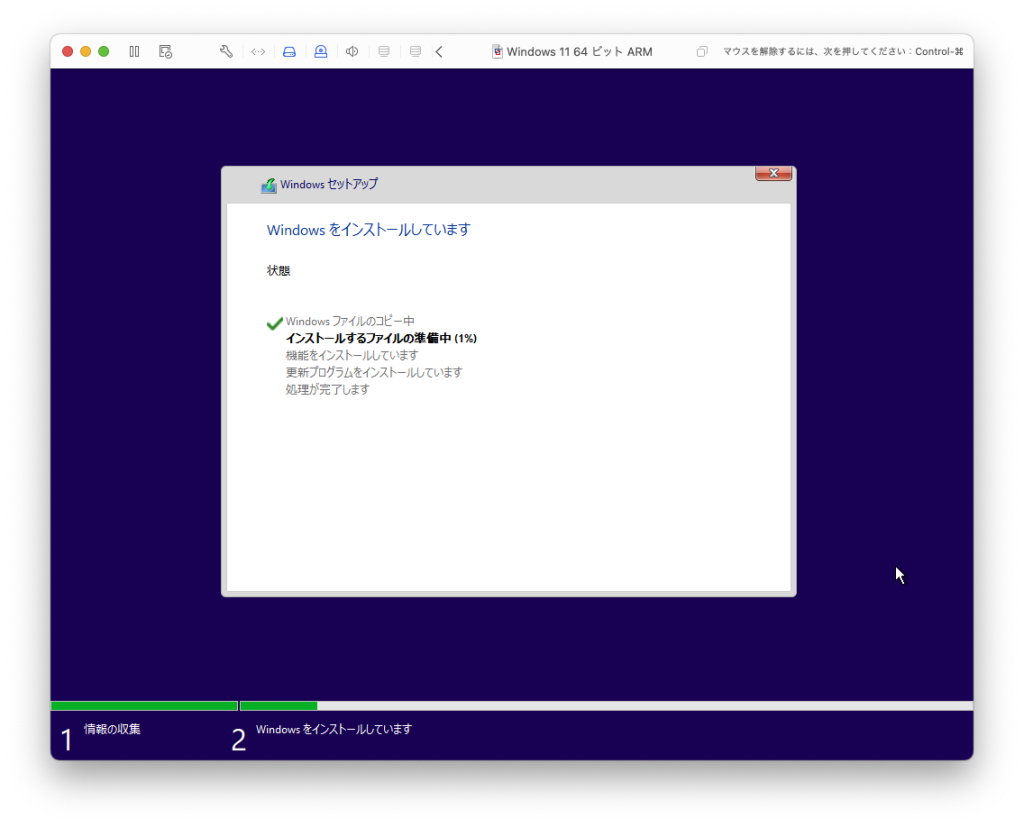
Windowsのインストールが始まります。しばらく待ちましょう。インストールが終わると自動的に再起動します。
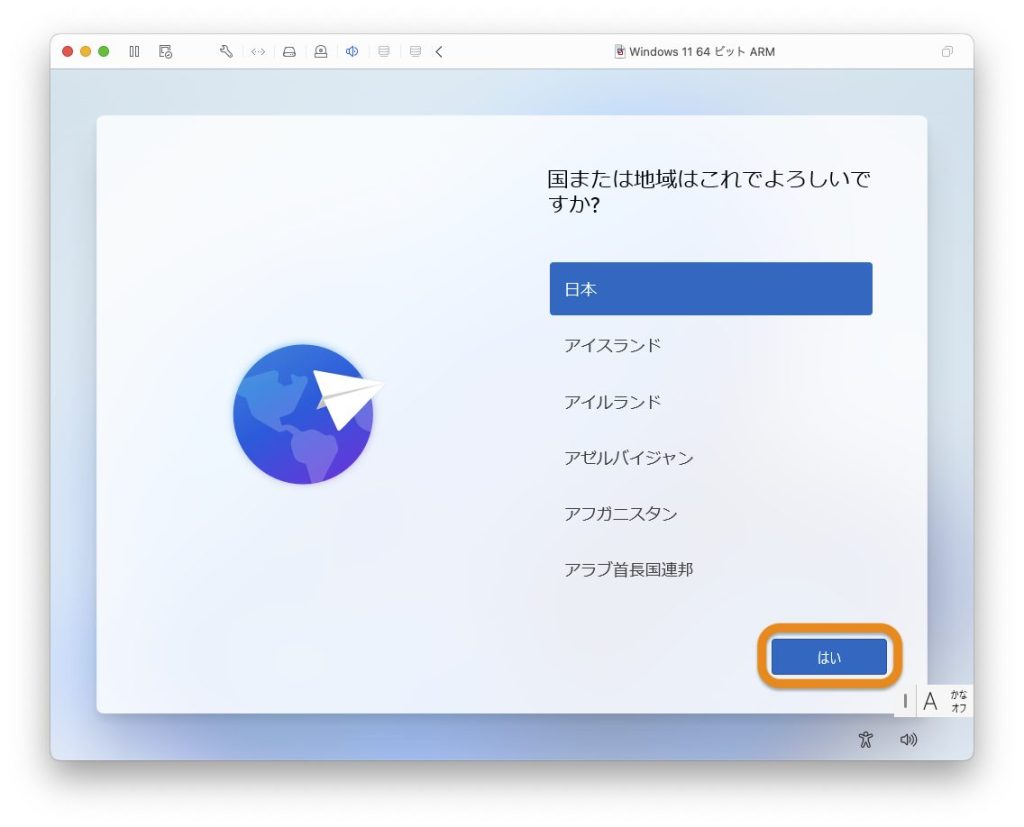
国を選んで[はい]をクリックします。
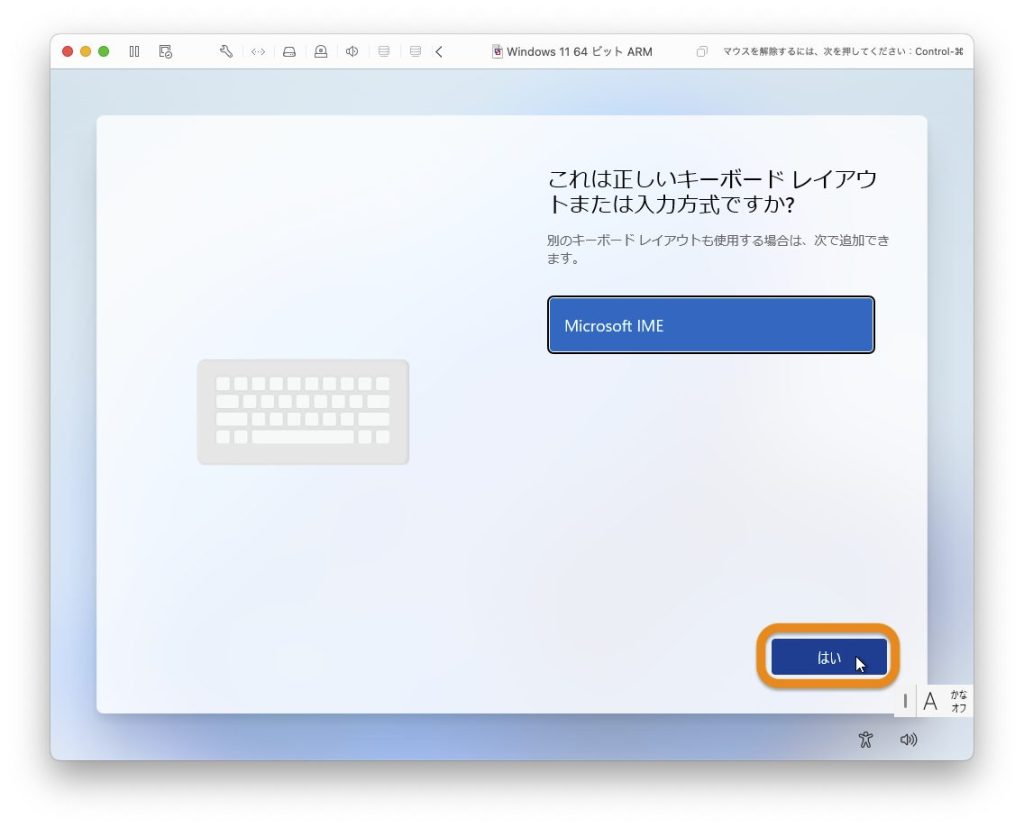
[はい]をクリックします。
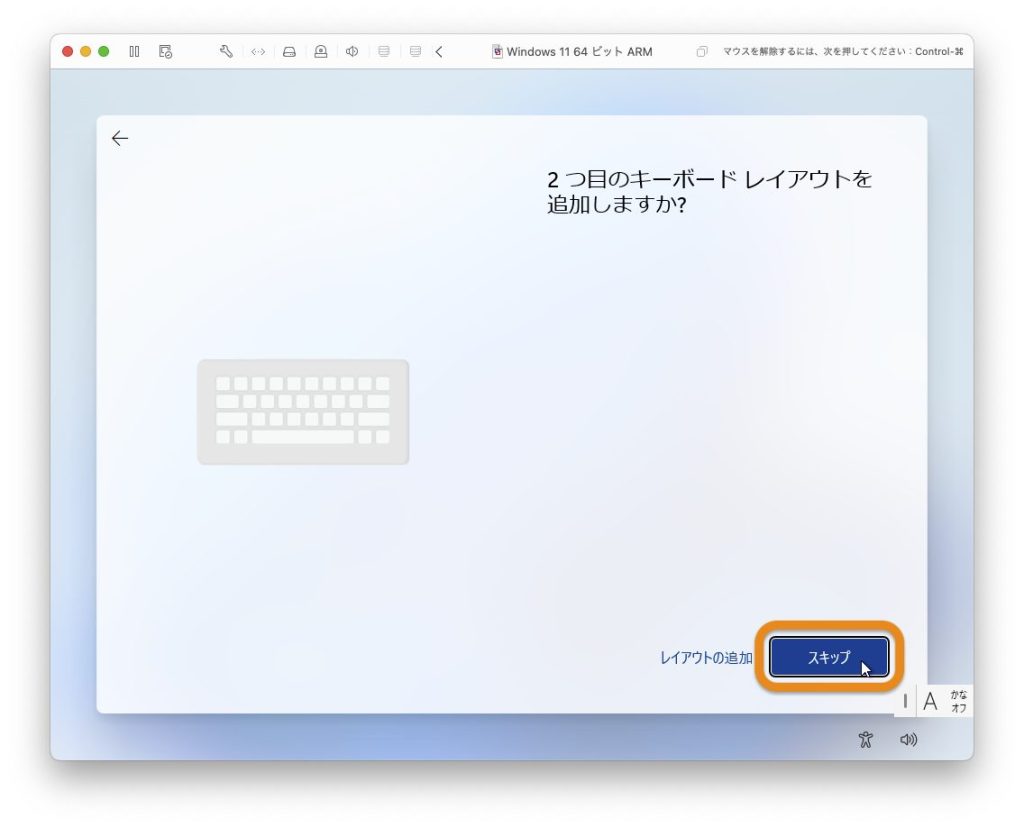
[スキップ]します。
[次へ]ボタンがグレーアウトしていて先へ進めません。
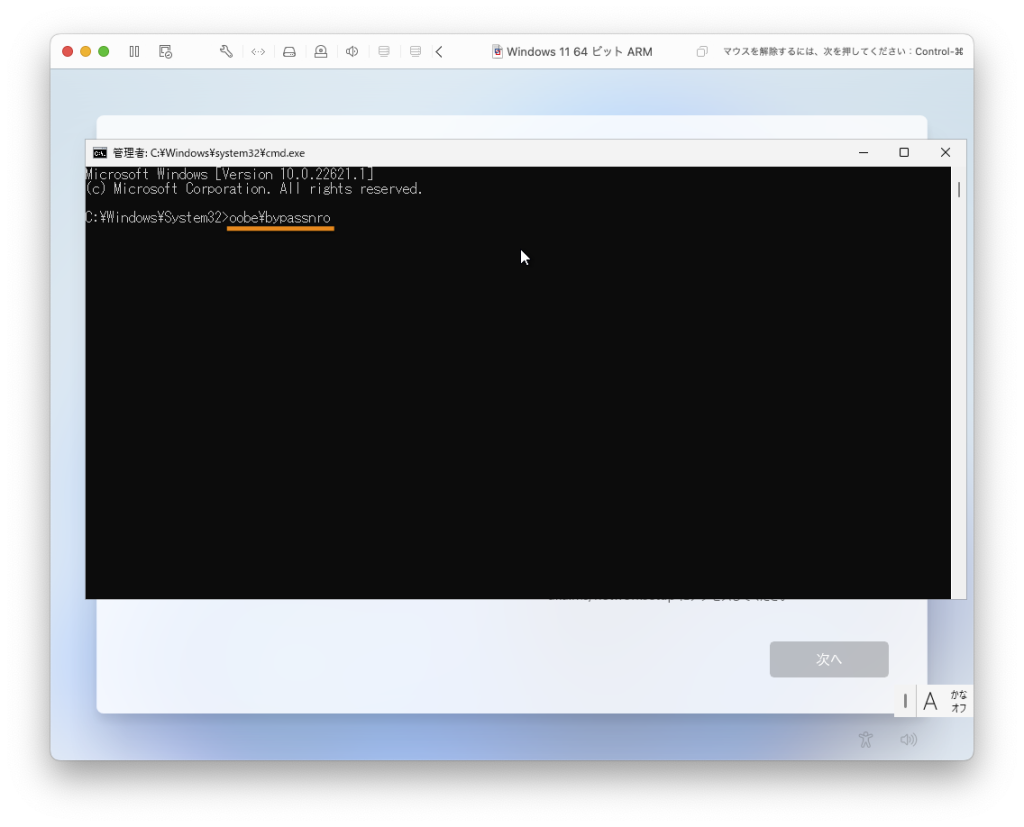
この仮想マシンは現時点ではインターネットに接続していないためです。ネット接続をしていなくても設定を進められるようにします。
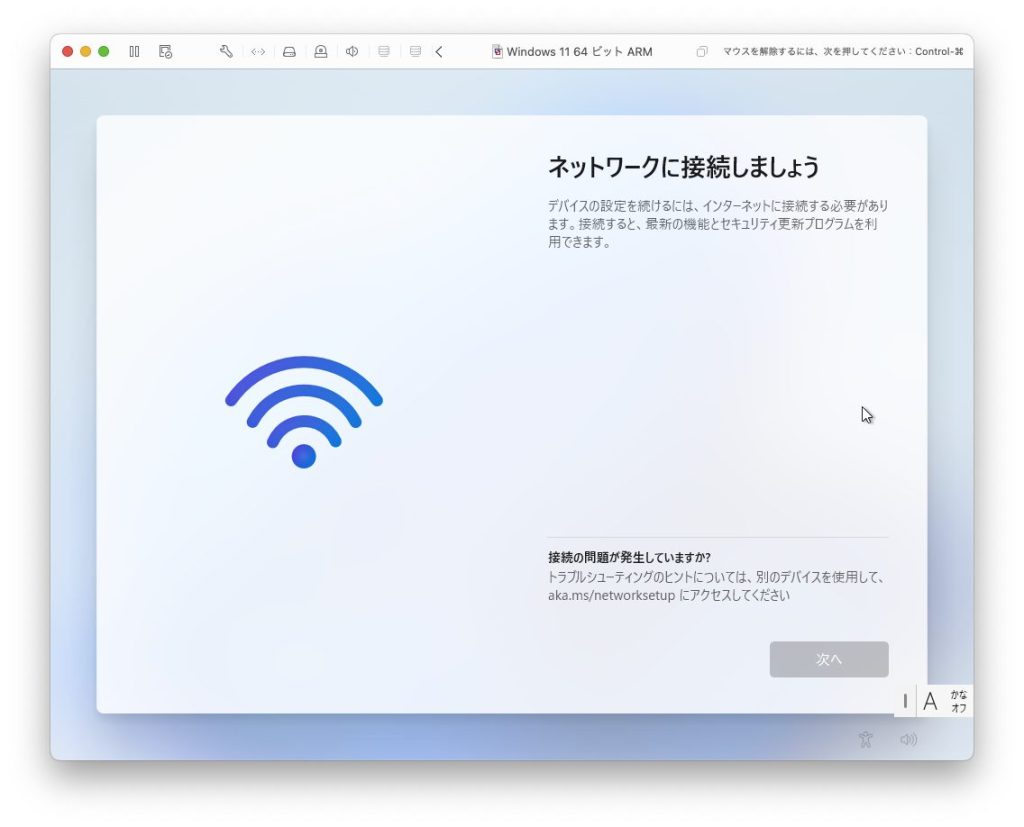
キーボードのshift + fn + F10 を押してコマンドプロンプトを開きます。oobe¥bypassnro と入力して return キーを押します。
インストーラが再起動して、国の選択からやり直しになります。
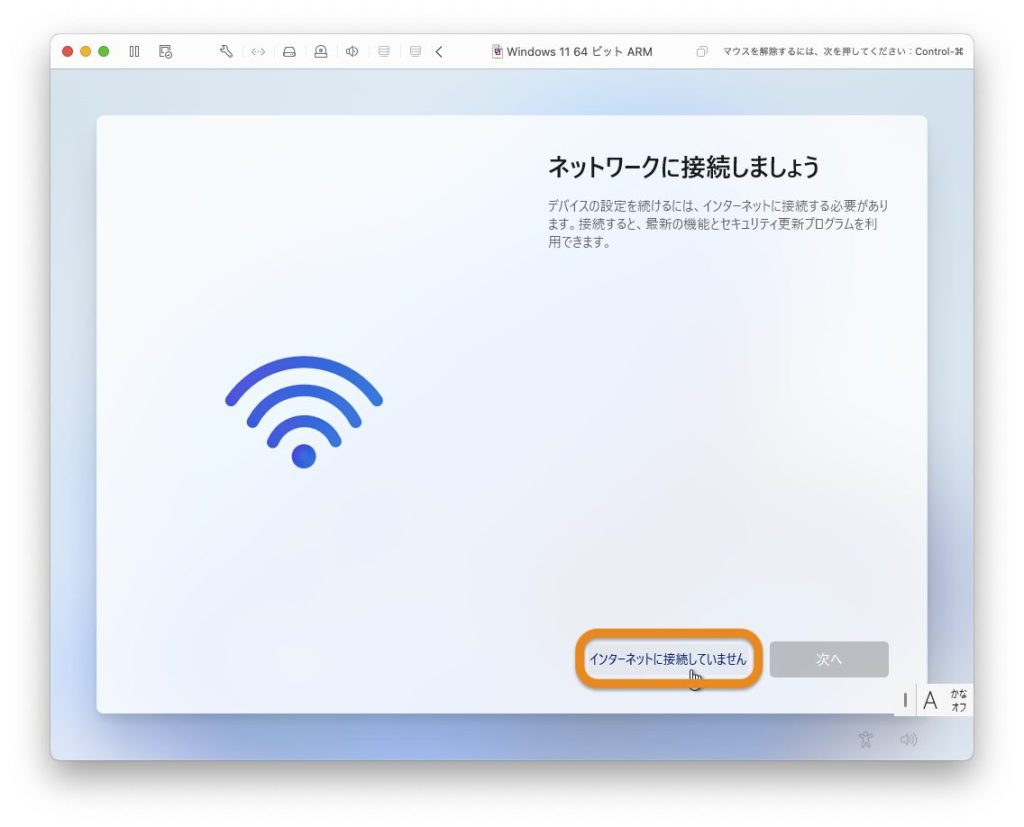
ネットワーク接続の画面にたどり着くと、今度は「インターネットに接続していません」のリンクが表示されています。やったね。クリックしましょう。
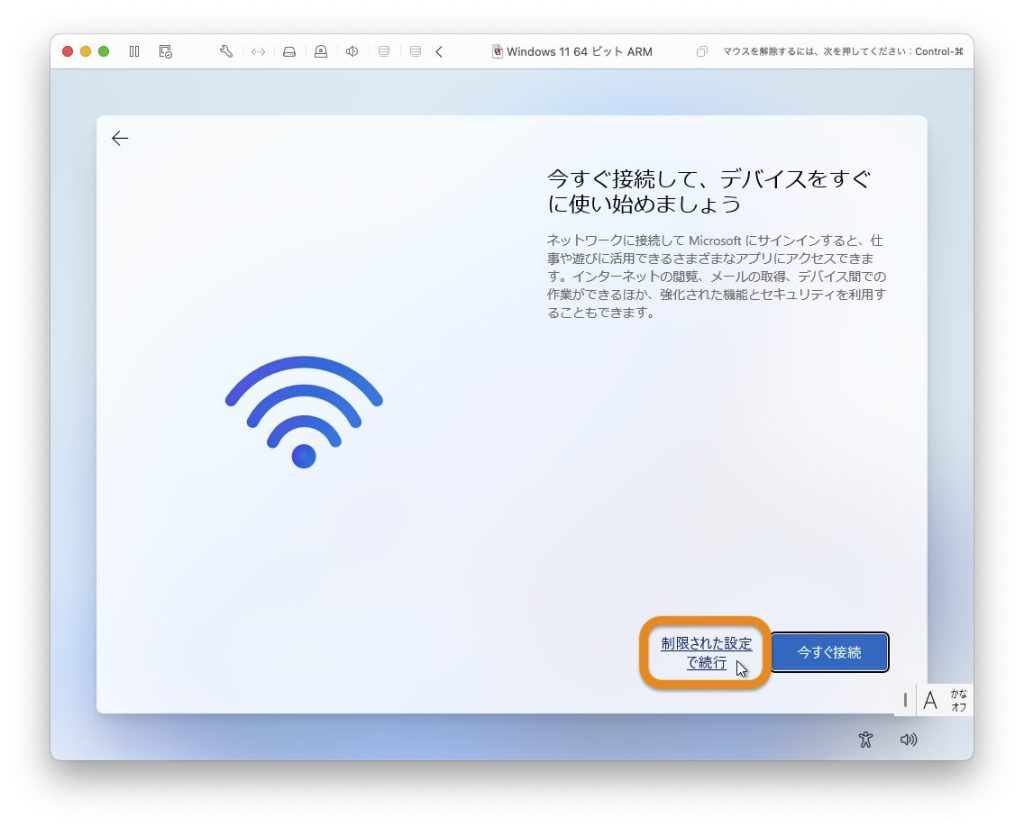
それでもネットに接続しろと言われますが、丁重にお断りして「制限された設定で続行」をクリックします。
Windows にサインインする時の名前を入力して[次へ]をクリックします。

パスワードを入力して[次へ]。
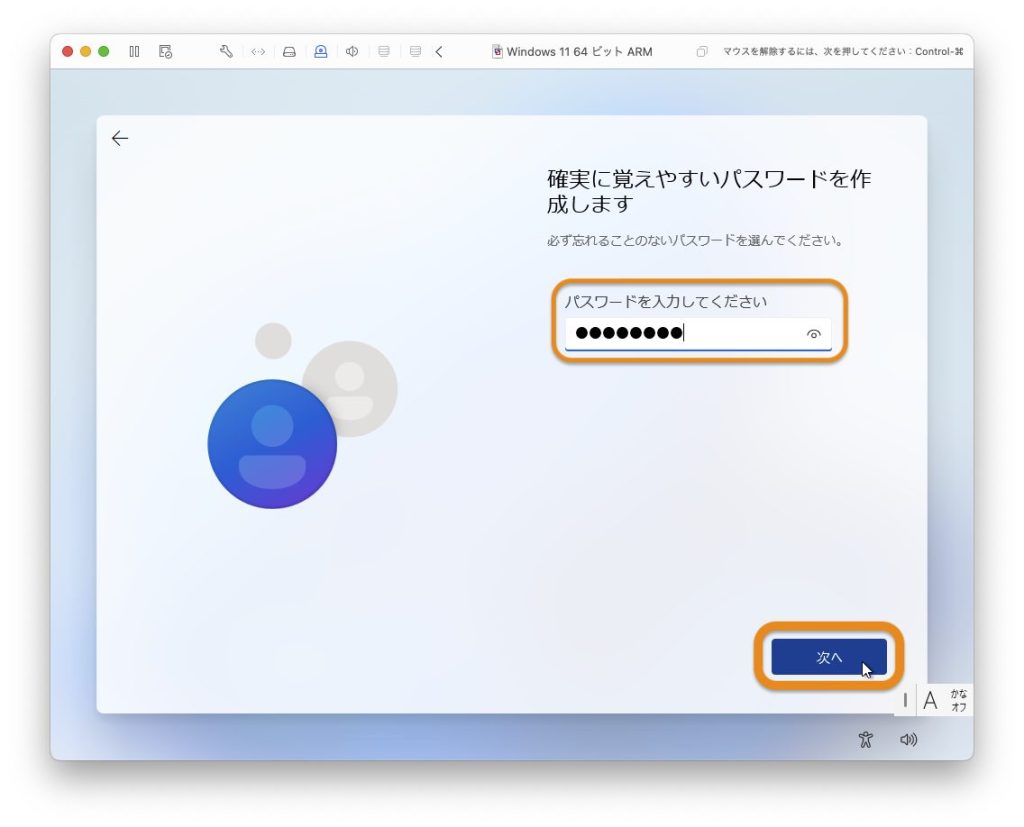
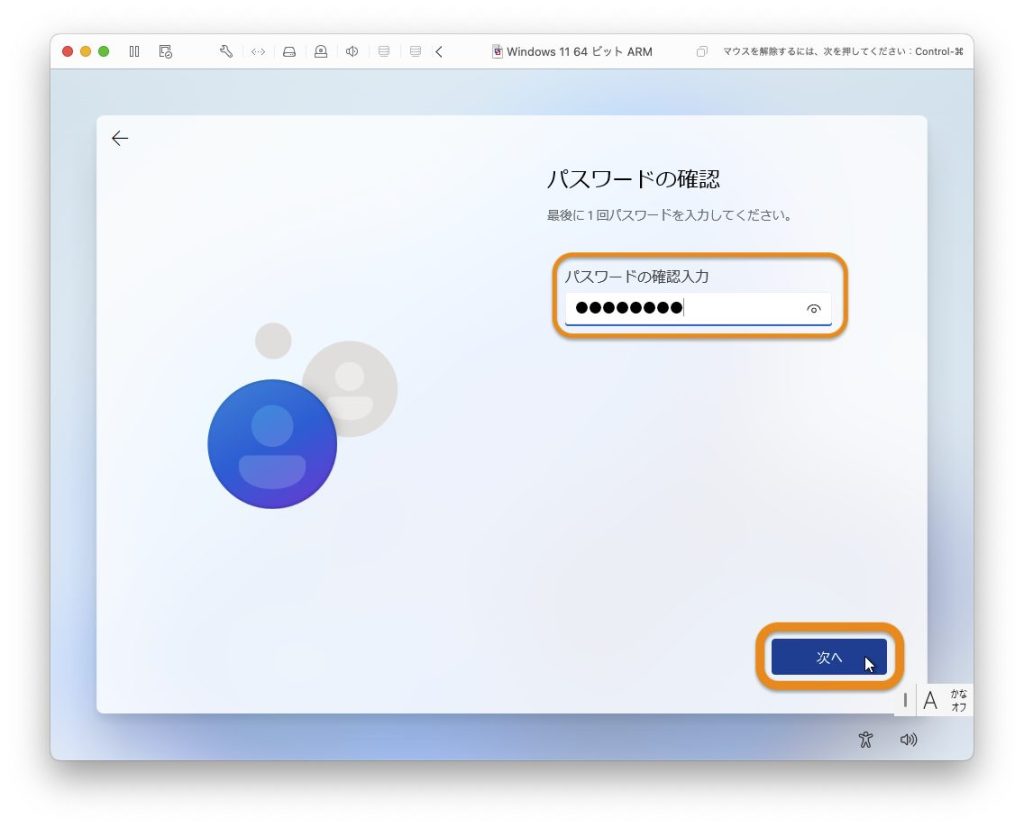
もういちどパスワードを入力して[次へ]をクリックします。
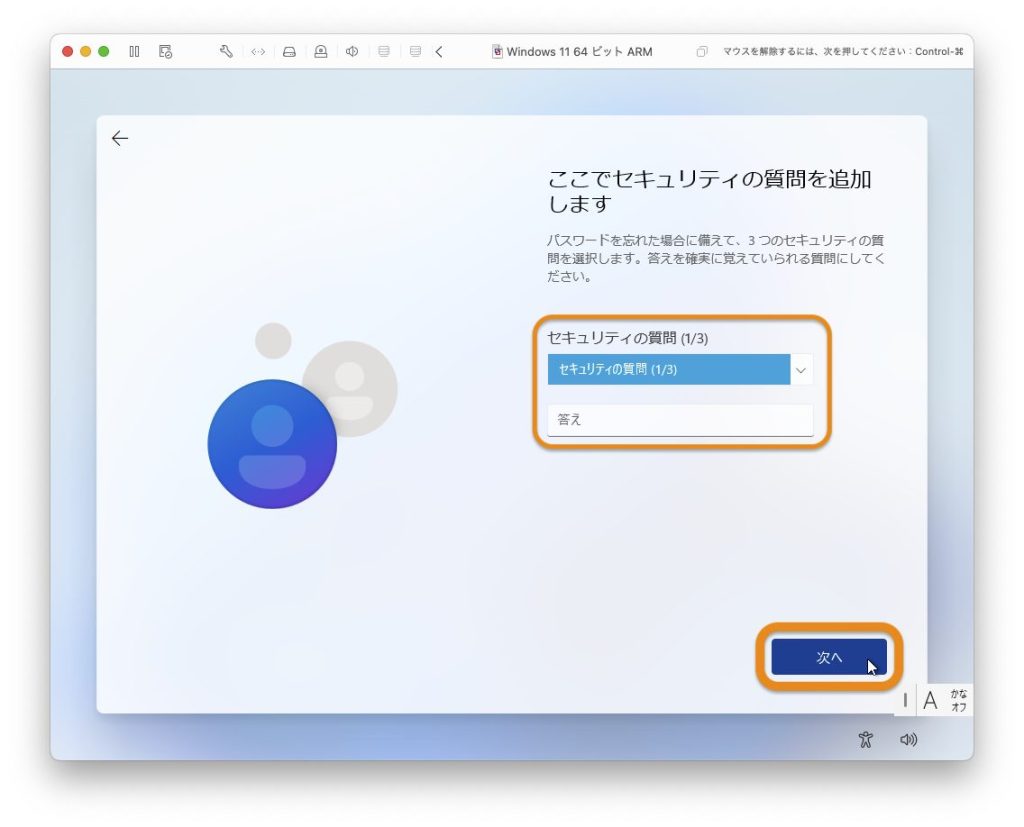
セキュリティの質問を選択して答えを入力します。3つ設定する必要があります。
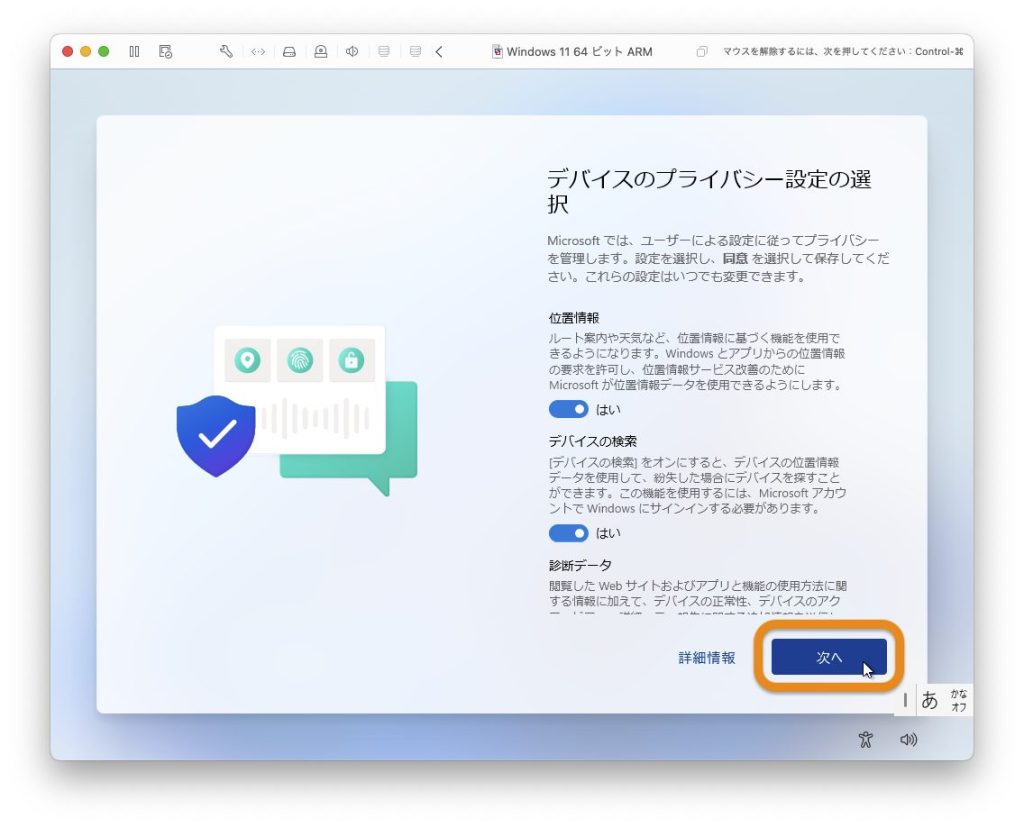
プライバシーの設定です。[次へ]ボタンをクリックしていきます。
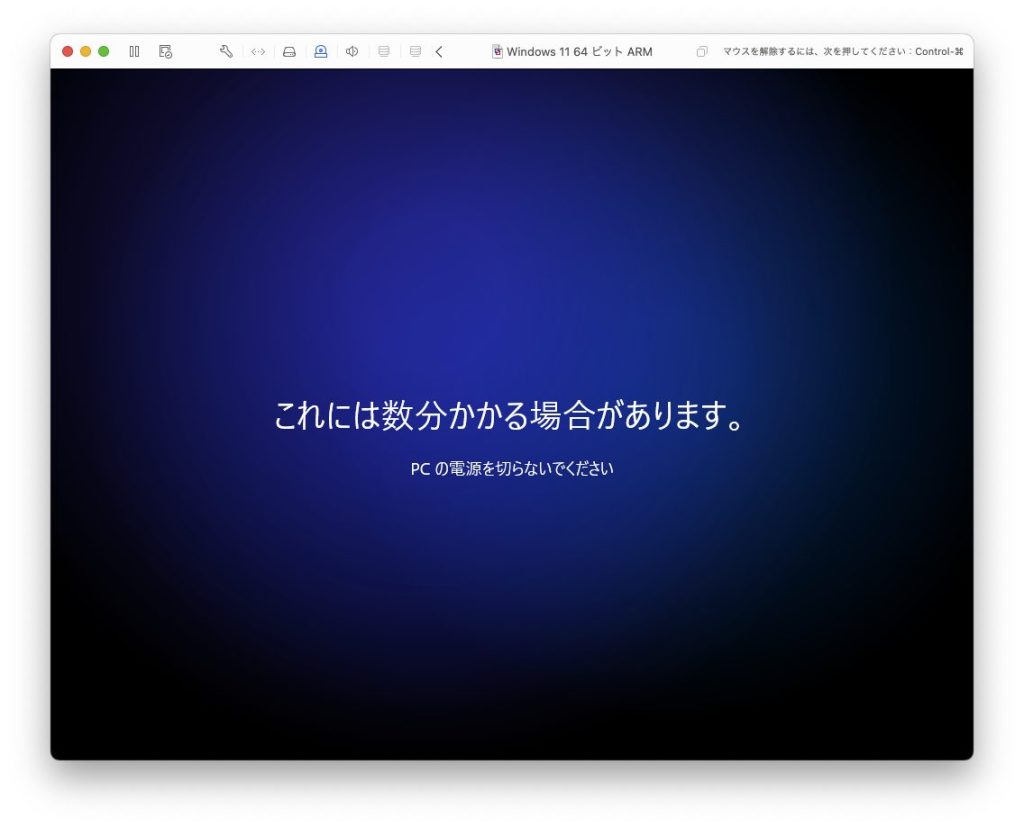
もうすぐインストール完了です。しばらく待ちましょう。
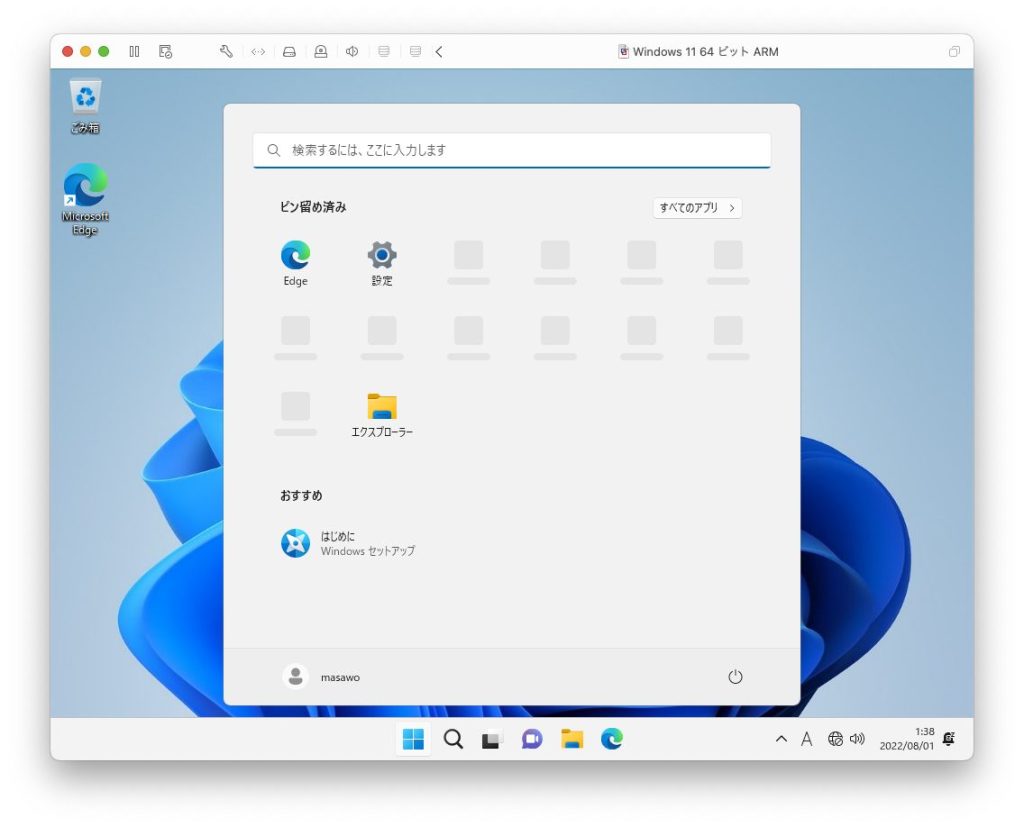
無事インストールが完了すると、デスクトップにスタートメニューが開きます。お疲れ様でした。
Microsoft Storeのインストール
Windows 11をインストールしても、Microsoft Storeが入っていないことがあるかと思います。そんな場合は次のコマンドを実行してください。
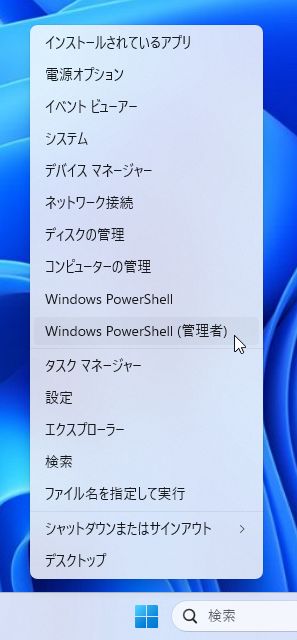
スタートボタンを右クリックし、Windows PowerShell(管理者)を起動します。
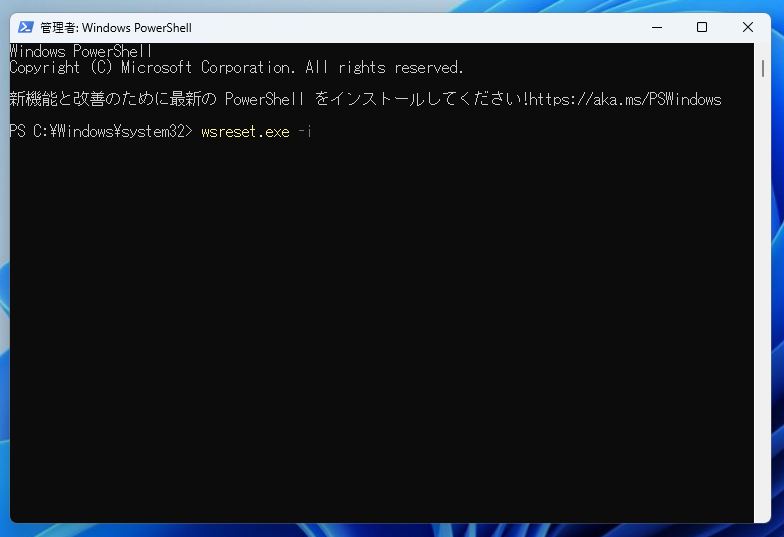
PowerShellのウインドウが開いたら、wsreset.exe -iと入力してreturnキーを押します。
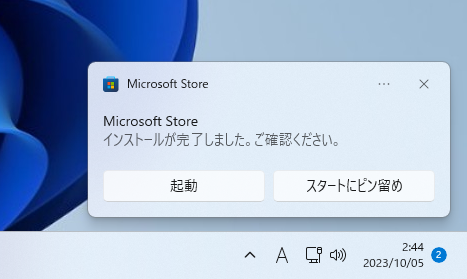
なにも起こらないように見えますが、しばらく待つとデスクトップの右下に「インストールが完了しました」のポップアップが表示されます。
メールアプリなどがインストールされていなければ、Microsoft Storeでインストールできます。
でわでわ

コメント